
Still using old OpenX adserver? Here is the solution available to upgrade your adserver into latest version of Revive adserver. This article will helps you to do upgrade by yourself easily.
Upgrade Steps:
1. Download latest version of revive adserver from here, http://www.revive-adserver.com/download
2. Assume, Your openx adserver URL http://www.demoadserver.com/adserver.
3. Create new folder name as “adserver_live” and upload latest version of revive adserver files on it via FTP/SFTP. This directory should be placed below to “adserver”.
4. Create Instance(copy) of your adserver database. For example: Current adserver database name is “adserverdb”. Create new database from cPanel with name of strong>“adserverdb_live”. Associate “adserverdb” user to this new database also.
5. Copy configuration file “www.demoadserver.com.conf.php” from the directory of old openx adserver “/adserver/var/” and place this file into “/adserver_live/var/” directory.
6. Once uploaded “www.demoadserver.com.conf.php” configuration file on “/adserver_live/var/” directory, then edit this file and change the database name as “adserverdb_live”.
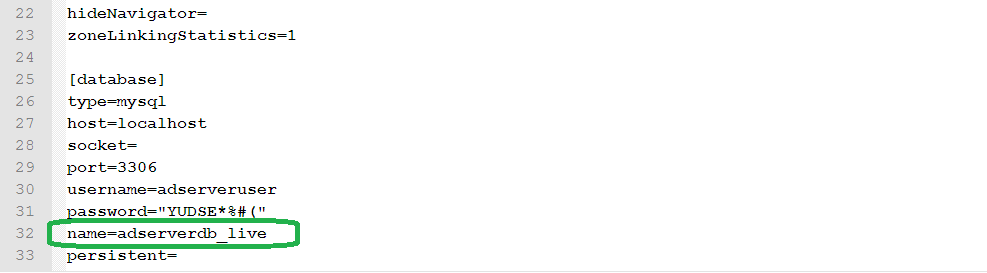
Database Name Change Settings
7. Create empty file with name as “NOBACKUPS” on “/adserver_live/var/” directory. This avoids creating backup of tables, because we already running upgrade with the instance database.
8. Download all the images from “/adserver/www/images/” directory and upload into “/adserver_live/ www/images/” directory.
9. Now you can run the upgrade wizard on URL by entering http://www.demoadserver.com/adserver_live
10. Please read the instruction on upgrade wizard and proceed.
Note:
- You may be needed to set the global write permission for the some of the folder. Like “adserver_live/plugins”, “adserver_live/var”, “adserver_live/www/images”, “adserver_live/www/admin/plugins”. Set global write permission for these directories, if upgrade wizard required.
- Upgrade wizard may ask the previous adserver path to give, this time please give the realpath of old adserver. For example: “/home/sites/adserver”. This realpath will vary for server to server, please copy and paste exact one. It mostly automatically detects the previous path.
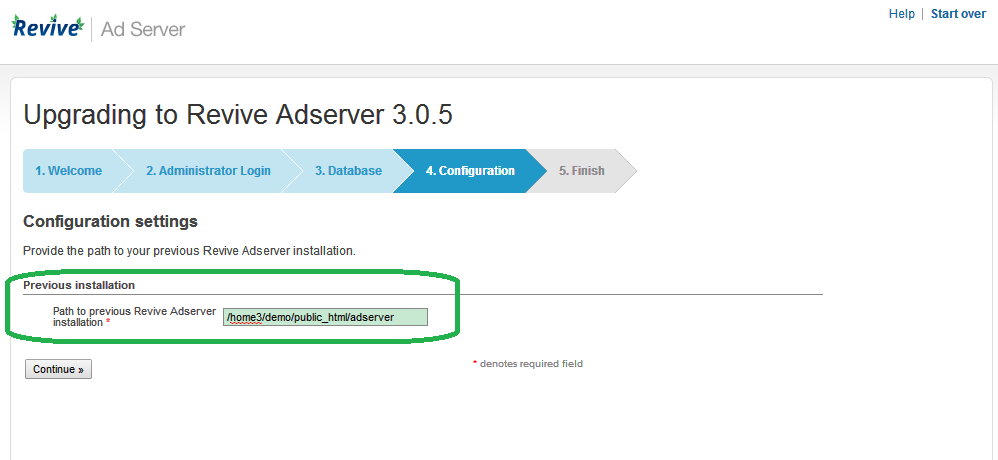
Previous Openx Adserver Path
11. Once it’s completed it will redirect to http://www.demoadserver.com/adserver URL. Then rename “adserver” to “adserver_bkp” and then rename “adserver_live” to “adserver”.
12. Finally, you have completed the upgrade of your old adserver to latest version of revive adserver.
Any help needed, please contact us via http://www.adserveropenx.com/contact-us/.
4 Comments